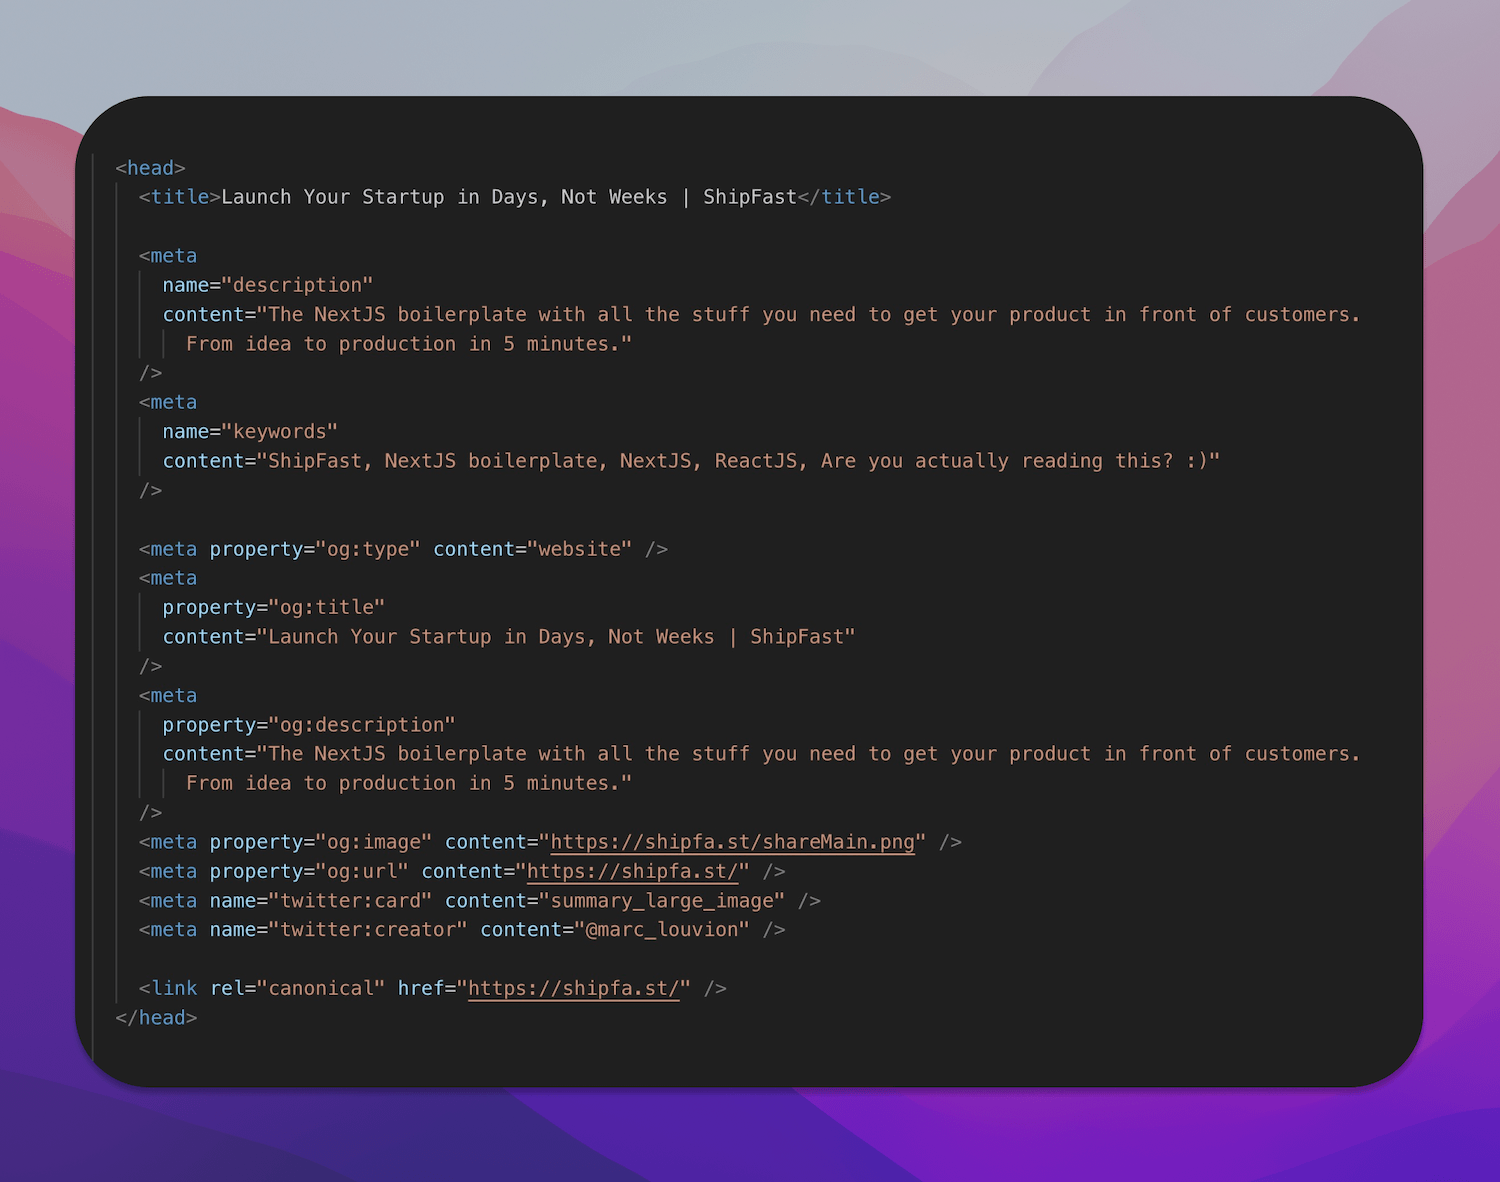
SEO Tags
⚙️ Setup
1️⃣ Open the config.js file and add the following values:
appName, appDescription, and domainName.
🧠 These values will be used as default SEO meta tags.
2️⃣ The helper /libs/seo.js is used to add all essential SEO tags (with default values) to all pages via the main layout file /app/layout.js.
3️⃣ To add custom SEO tags to a specific page without rewriting everything, do the following:
📄 /app/terms/page.js
import { getSEOTags } from "@/libs/seo";
...

export const metadata = getSEOTags({
  title: "Terms and Conditions | SaaSFast",
  canonicalUrlRelative: "/tos",
});

export default async function TermsAndConditions() {
...
✅ It’s recommended to always define title and canonicalUrlRelative for each page.
🧩 When needed, add structured data to the page using the renderSchemaTags() function in /libs/seo.js.
🔍 This helps Google better understand your site and may enable rich results.
📘 Open the component for more details.
📄 Example:
/app/page.js
import { renderSchemaTags } from "@/libs/seo";

export default function Page() {
  return (
    <>
      {renderSchemaTags()}

      <main className="flex min-h-screen flex-col items-center justify-center text-center gap-12 p-8">
        <h1 className="text-3xl font-extrabold"> SaaSFast</h1>

        ...
      </main>
    </>
  );
}
4️⃣ Add your root URL to siteUrl (e.g., https://yourdomain.com) inside the
next-sitemap.config.js file in the root folder.
🗺️ This will generate sitemap.xml and robots.txt files for all your pages during build.
5️⃣ Verify your domain in Google Search Console to help with site indexing.
📝 Create a Blog in Minutes
📂 Inside the folder /app/blog/_assets, you’ll find the content.js file which contains all your blog posts, authors, categories, and blog style.
✍️ Just add your content there and SaaSFast will automatically generate a blog for you.
📚 For more details, check the blog section.
```